
How to Photograph Pokémon Cards for Accurate Scans (Lighting, Glare & Framing)
Good photos are the single biggest factor in whether a card scanner identifies your card correctly on the first try.
Most misidentifications come from glare, blur, or cropping that hides the set symbol and card number. Fix those three things and match rates jump dramatically.
At a glance
Use bright, indirect light and keep the whole card in frame.
Tilt the card slightly to move glare off holo foil.
Sleeves are fine if they're clean and non-glossy; toploaders often aren't.
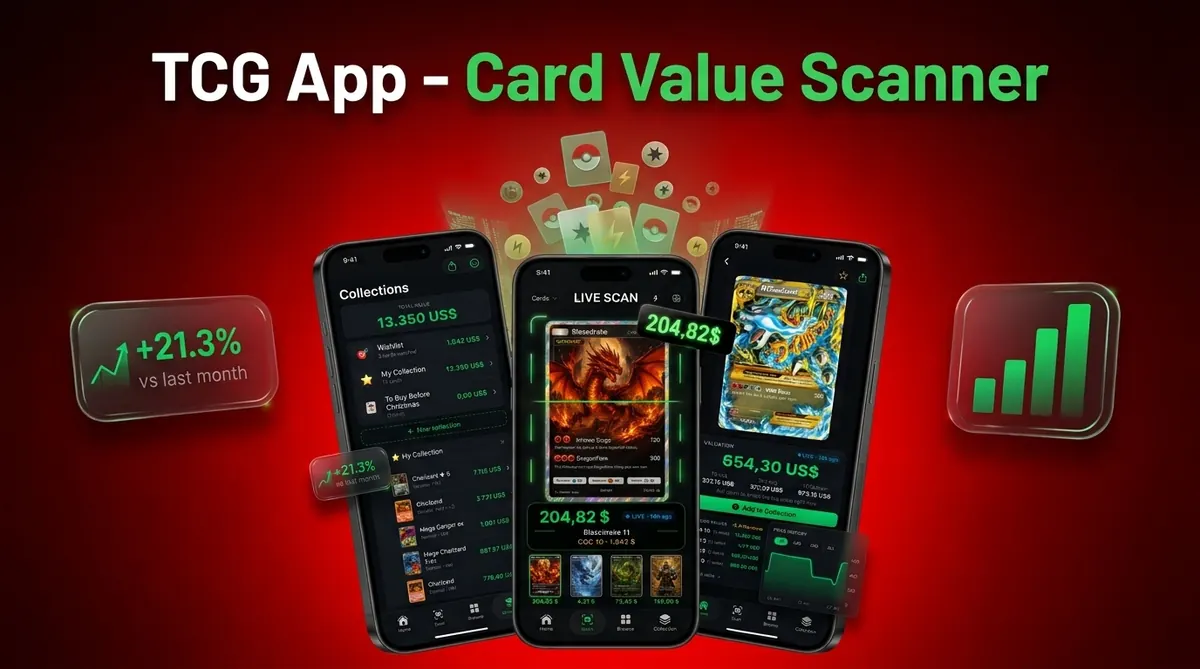
Card Value Scanner is a Pokémon TCG scanning app that identifies cards from a photo and returns estimated market and graded value ranges. Because identification relies on visible details, artwork, set symbol, card number, rarity mark and holo pattern, photo quality directly affects accuracy. This guide explains how to photograph Pokémon cards so the scanner has the cleanest possible input. Scan results are estimates based on observed market data, not guarantees of sale price, and scanning is not authentication or grading.
The 60-second setup that fixes most scans
- Place the card on a flat, plain, matte surface (dark grey or black works well).
- Stand near a window in daylight, or use two lamps at 45° angles - never one light directly above.
- Hold the phone parallel to the card, roughly 15–25 cm away.
- Fill the frame with the card but leave a small border of background on all four edges.
- Tap to focus on the card text, wait for focus to lock, then shoot.
If the app supports live scanning, hold steady for a second rather than sweeping the phone around.
Best lighting for card scanning
The goal is even, diffuse light with no hotspots.
| Light source | Result |
|---|---|
| Indirect daylight (window, no direct sun) | Best - soft and neutral |
| Two lamps at 45° | Very good - cancels most glare |
| Single overhead ceiling light | Poor - creates a bright band across the card |
| Phone flash | Worst for holos - blows out foil and text |
| Direct sunlight | Poor - harsh shadows and clipped highlights |
Avoid coloured or very warm lighting; colour shifts can make it harder to distinguish similar reprints or holo variants.
How to reduce glare on holo and full-art cards
Holo, reverse holo, and textured full-art cards reflect light by design. Techniques that work:
- Tilt, don't move the light. Angle the card 10–20° until the shine slides off the artwork.
- Shoot slightly off-axis so the reflection bounces away from the lens, then straighten the crop.
- Diffuse the light with a sheet of white paper or a thin curtain between lamp and card.
- Wear/avoid reflections - a white shirt or bright screen behind you can reflect onto foil.
- Prioritise the bottom strip. If glare is unavoidable somewhere, keep the card number, set symbol and rarity mark clear.
See holo vs reverse holo for why foil pattern matters to identification and value.
Framing, focus and what must stay visible
The scanner needs certain regions to confirm an exact printing rather than just "a Charizard":
- Full artwork and the Pokémon name
- Bottom-right or bottom-left card number (e.g. 4/102)
- Set symbol and rarity symbol
- Any 1st Edition stamp or promo marking
Common framing mistakes: cropping the bottom edge, angling so the card looks trapezoidal, fingers covering a corner, and shooting so close that autofocus can't lock. Read more on rarity symbols and 1st Edition & Shadowless markers.
Sleeve vs raw scanning
You do not need to remove protection for most scans, but the material matters.
| Protection | Scan-friendly? | Notes |
|---|---|---|
| Clear penny sleeve | Yes | Minimal interference if clean and scratch-free |
| Glossy or matte-art sleeve | No | Opaque backs and textures obscure detail |
| Toploader | Sometimes | Thick plastic adds glare and double reflections; tilt more |
| Graded slab | Usually yes | Angle to dodge the large glare band; label helps context |
If a sleeved card fails twice, take it out, photograph raw on a matte surface, and re-scan. For slabs, see graded value lookup.
Batch and bulk photo workflow
When photographing many cards, consistency beats perfection:
- Set up one lighting station and don't move it.
- Keep the phone at a fixed height - a cheap stand or stack of books works.
- Swap cards in and out of the same spot rather than repositioning the camera.
- Scan in runs of 20–50 and review misses at the end.
- Flag anything valuable for a careful re-shoot.
More on this in batch card scanning and the bulk sorting workflow.
Troubleshooting: why a scan failed
- Wrong set returned: the set symbol or card number was unclear - re-shoot the bottom edge sharply.
- No match at all: likely blur, extreme angle, or a Japanese/regional print - see Japanese card scanning.
- Value looks off: confirm the identified printing is correct before questioning the price; then check live market prices.
- Repeated failures on foils: switch to two-lamp lighting and tilt the card.
Persistent accuracy questions are covered in are scanner apps accurate? Values shown are estimates, not appraisals or financial advice.
Related guides
FAQ
What is the best lighting for photographing Pokémon cards?
Bright, indirect daylight or two lamps positioned at 45° angles on either side. Avoid the phone flash and single overhead lights, which create hotspots across holo foil.
Should I use flash when scanning cards?
No. Flash is the most common cause of blown-out holos and unreadable card text. Use ambient or lamp lighting instead.
How do I stop glare on holo cards?
Tilt the card 10–20° so the reflection moves off the artwork, shoot slightly off-axis, and diffuse your light with white paper or a curtain. Keep the card number and set symbol glare-free as a priority.
Can I scan a card while it's in a sleeve?
Usually yes, if the sleeve is clear, clean and unscratched. Glossy art sleeves and thick toploaders cause reflections; remove the card or tilt more if scanning fails.
Can graded slabs be scanned?
Generally yes. Angle the slab to avoid the wide glare band across the case. Card Value Scanner can then show graded value ranges, though scanning does not verify or replace grading.
How close should my phone be to the card?
About 15–25 cm, with the whole card in frame and a small margin of background visible. Too close prevents autofocus from locking.
Why did the app identify the wrong set?
Almost always because the set symbol, rarity mark, or card number wasn't legible. Re-photograph with sharper focus on the bottom edge and re-scan.
Does photo quality affect the value estimate?
Indirectly. Photos affect which printing is identified, and printing determines the price range shown. All figures are market estimates, not guaranteed sale prices.
Ready to scan a card?
Set up good light, frame the whole card, and scan - value estimates in seconds.